All righty then! So you score a cheep BP revolver and elect to put a center fire cylinder in it. After peeling out $200 + it arrives and you follow the "Drop in" instructions & try to cock it. No dice - it's locked up tight. Dang! What to do? WEll. you could send it back and PAY their "gunsmith" to fix it for you - to the tune of $100 +!!
Or you can do this... First pic we see serious drag marks on the Uberti cylinder on the left. The new Taylor 38 cylinder is in the center & my Pietta 1851 cylinder on the right. The cylinder stop barely worked on the original BP cylinder and flat would not on the 38 cylinder. At the factory, when it worked at all, they left well enough alone and shipped it.
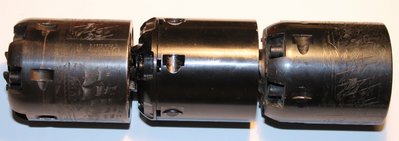 fitting 001 (1024x362).jpg [ 199.04 KiB | Viewed 6703 times ]
Next we see the tools required - flat blade screwdriver and abrasive Dremel tip. Not shown is the knife sharpening stone.
 fitting 006 (1024x477).jpg [ 208.28 KiB | Viewed 6703 times ]
When backing screws out I try to leave them in the same position for reassembly. This reduces the chance of cross threading when you put it back together.
 fitting 007 (1008x1024).jpg [ 270.38 KiB | Viewed 6703 times ]
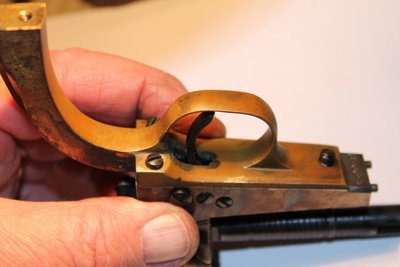
With the grip frame off we can see the cylinder stop under the flat spring which is also for the trigger. When you order a cylinder, it's well to have a spare spring like this.
 fitting 013 (1024x522).jpg [ 185.71 KiB | Viewed 6703 times ]
I took several pics to show how rough the cylinder stop was but only this one came out in focus. Notice the tool marks! It was never polished or hand fitted.
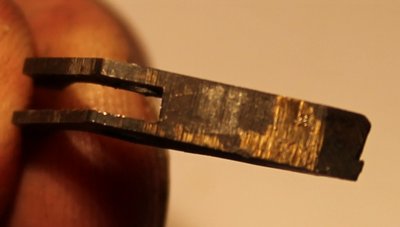 fitting 017 (1024x581).jpg [ 184.92 KiB | Viewed 6703 times ]
With some light oil you now polish the bolt stop on a knife sharpening stone. This will take a while. You want to polish a while and put everything back together for a function test. You don't want to over polish - you can take it off, but you can't put it back! Cut-n-try.
 fitting 018 (960x1024).jpg [ 381.25 KiB | Viewed 6703 times ]
After smoothing things up, put it back for a function test again. ( cut and try) When you take it apart, watch closely how the trigger lies. You will probably need to do this 5 times.
 fitting 019 (1024x683).jpg [ 231.49 KiB | Viewed 6703 times ]
These pics show reassembly.
 fitting 021 (1024x683).jpg [ 232.5 KiB | Viewed 6703 times ]
 fitting 021 (1024x683).jpg [ 232.5 KiB | Viewed 6703 times ]
Go slowly putting steel screws into the brass frame. It doesn't take much effort to strip the threads and then you will have a problem!
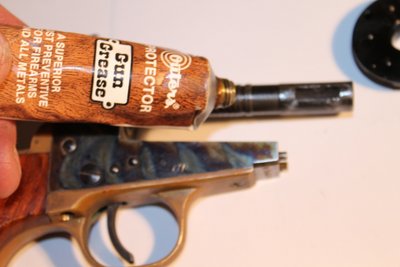
Having tested it, the revolver cocks smoothly like it's supposed to! Woo hoo! Now add a little gun grease or oil to the cylinder arbor.
 fitting 025 (1024x683).jpg [ 232.67 KiB | Viewed 6703 times ]
A 36 caliber BP barrel is actually a little too large for standard 38 cal boolets. You can either use hollow base wadcutters that will expand to fit the bore or dedicated .375" round balls.
I go with the latter just because of the lighter weight. For lube I dip each round into a small container of water pump grease. A trifle messy but it saves wear & tear on my Lewis Lead Remover.
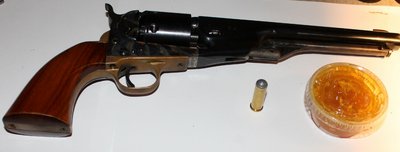 fitting 027 (1024x389).jpg [ 173.26 KiB | Viewed 6703 times ]
My criteria for converting a C&B revolver to center fire is initial cost. Since Cimarron makes 38 conversions for between 450 & 500, you want to score a revolver for 150 or less. Or if you just like a challenge.


This one shoots to the right & a bit low but it was a tight group. I'd rather be lucky than good!

SW


 Rats! What to do? I considered calling Taylor for advice on which parts I needed to order to fix it but fell asleep & it was too late to call when I got up.